🧩 UI Setup
Now we can setup our UI to display Examinable object name, description and more.
Overview
Here we have to setup two things: UI and Examine UI script.
UI Setup Explained
First we have to setup UI before setting up the script.
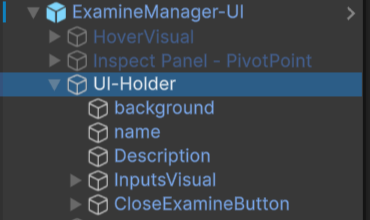
Go under ExamineManager-UI object you will find an object named UI-Holder.
UI-Holder holds all content such as Name (Text), Description (Text), examine state Close Button, and icons of input actions used in the examine system.
 →
→
All UI under UI-Holder is just placeholder content.
You are free to customize it however you want.
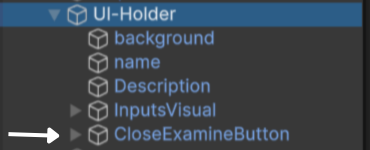
- CloseExamineButton → In this object, there is a object named closeExamine.
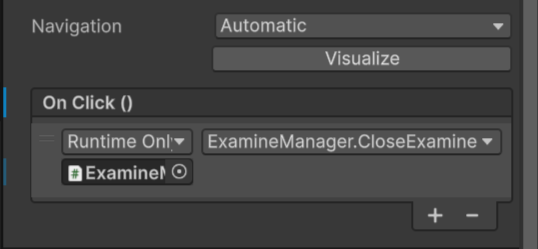
CloseExamine → This is a button object. In the Button section, in the On Click event section, make sure ExamineManager is added and is using ExamineManager.CloseExamine() method.
Examine UI Script Setup
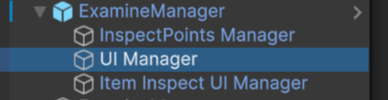
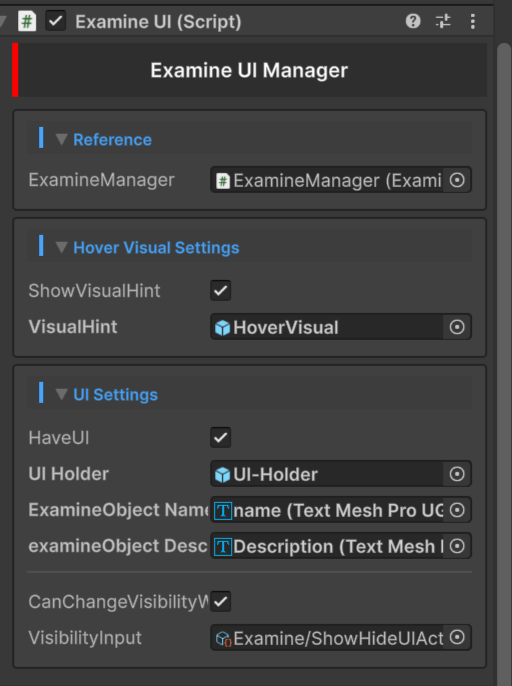
If you go under ExamineManager, you will find a component named UI Manager.
Inside that object, you will find a script named Examine UI.
 →
→
Explaining
It time to understand UI script.
Reference
- ExamineManager → Add your ExamineManager script reference here.
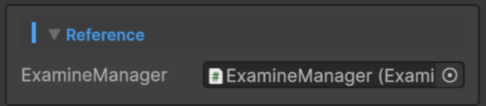
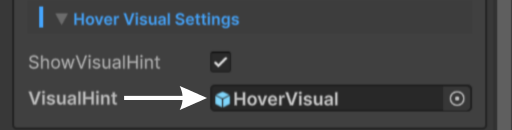
Hover Visual Settings
- ShowVisualHint → Enable it, if you want to have a visual that hints to you when you are hovering over your examinable object.
After you enable ShowVisualHint, a new field will show up named VisualHint.
Before I explain you VisualHint, if you go under ExamineManager-UI you will find an object named HoverVisual.
 →
→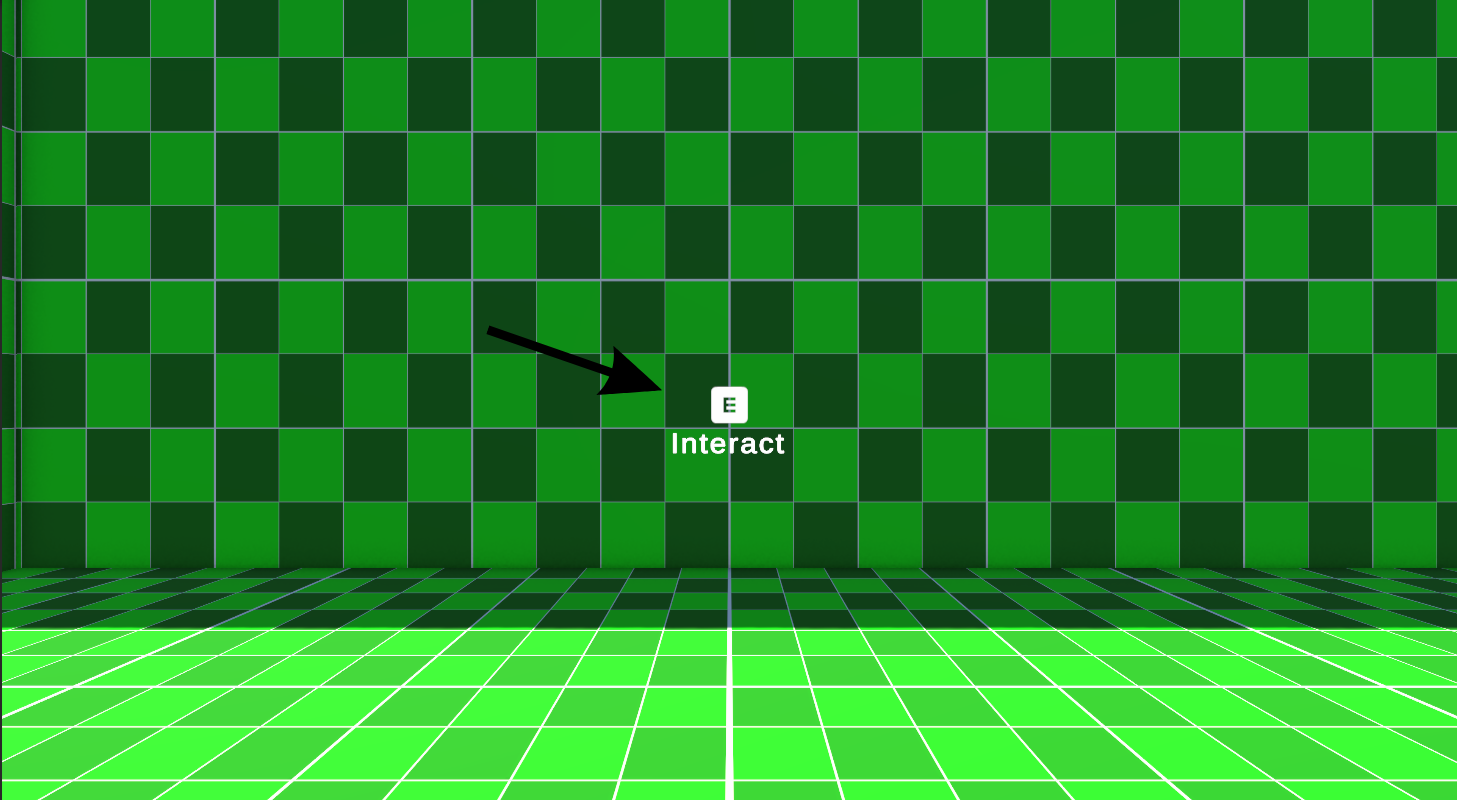
- HoverVisual → It is the object that contains your HoverVisual that gets displayed when you hover over the examinable object.
Time to understand VisualHint.
- VisualHint → Add the visual you want to show when you hover over the examinable object.
UI Settings
Time for most interesting thing UI Setup
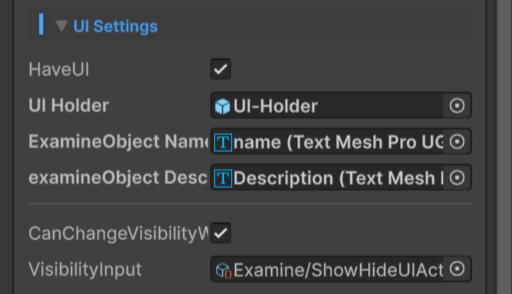
- HaveUI → Enable it, if you want to show UI during your examine state.
Disabling HaveUI will not affect visibility of InspectPoint and ItemInspect.
After you enable HaveUI, you will see few fields.
Lets talk about UI Holder, ExaminableObject NameLabel and ExaminableObject DescriptionLabel first.
-
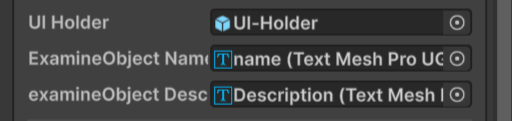
UI Holder → Add the parent that holds all of your UI contents, like NameLabel for ExaminableObject and DescriptionLabel for ExaminableObject etc.
→ [Add the UI-Holder found under ExamineManager-UI object]. -
ExaminableObject NameLabel → Add the Text here that will display the Name of your examinable object.
→ [Add the Name object found under UI-Holder object]. -
ExaminableObject DescriptionLabel → Add the Text here that will display the Description of your examinable object.
→ [Add the Description object found under UI-Holder object].
UI-Holder is already explained above. Look for [UI Setup Explained].
Time to explain last two fields.

-
CanChangeVisibilityWhileExamining → Enable it, if you want to control the visibility of your UI while in examine mode.
-
VisibilityInput → To control your UI visibility while in examine mode, you must add an Input Action.
→ [Add inputAction named ShowHideUIAction here. ShowHideUIAction default key is [H], you can change it].
And UI done.... ✨